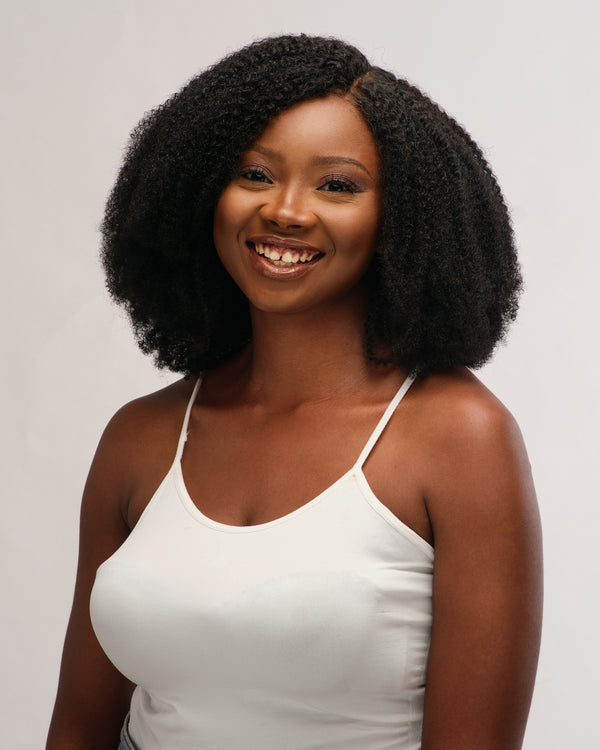
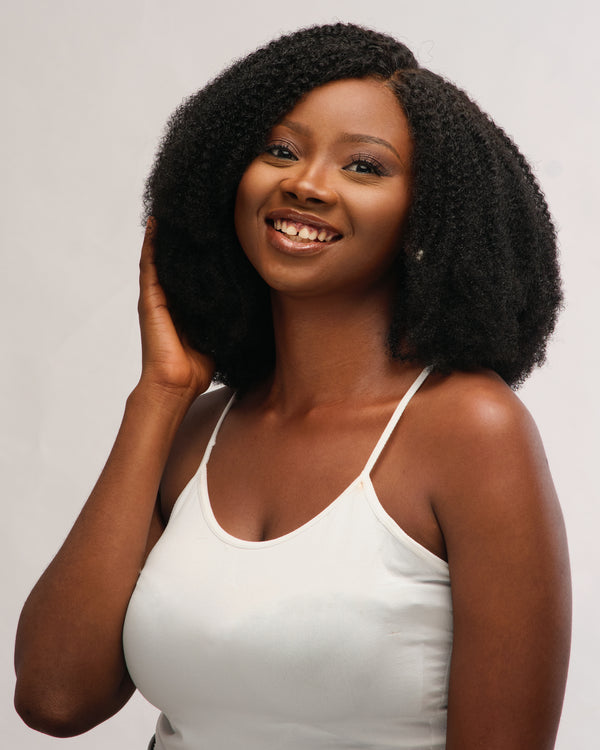
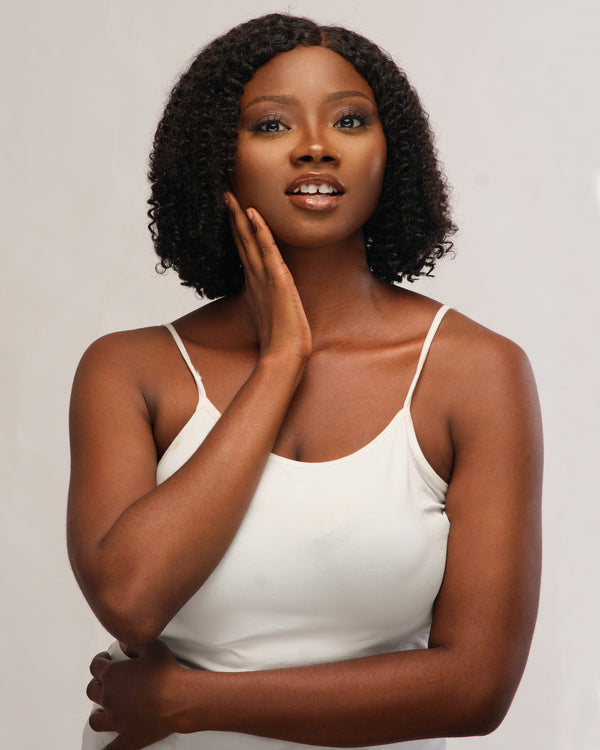
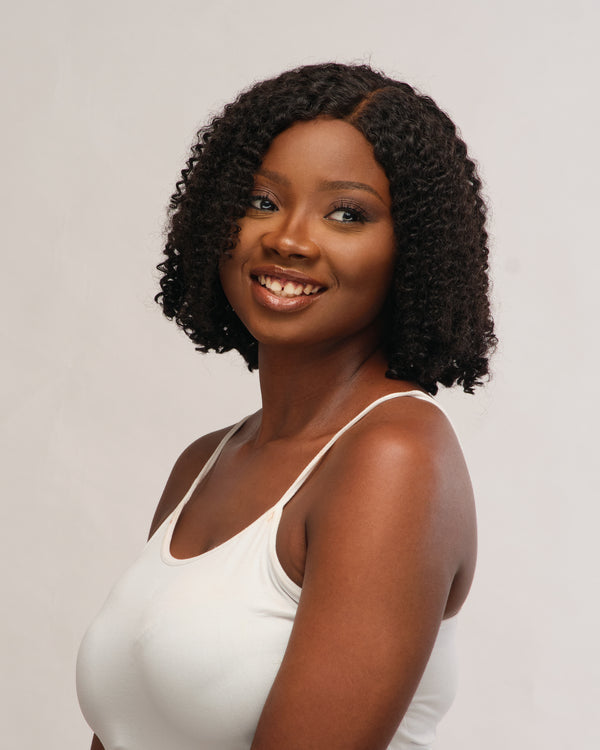
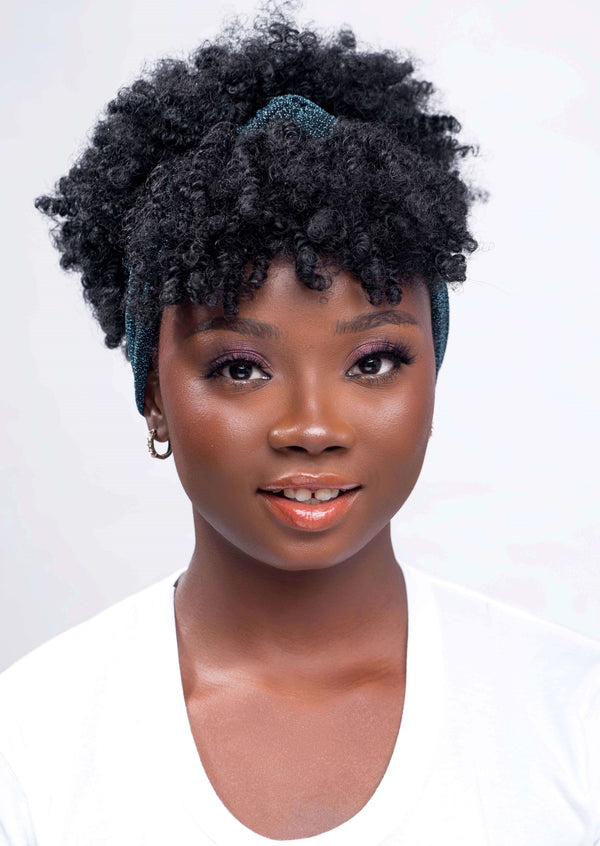
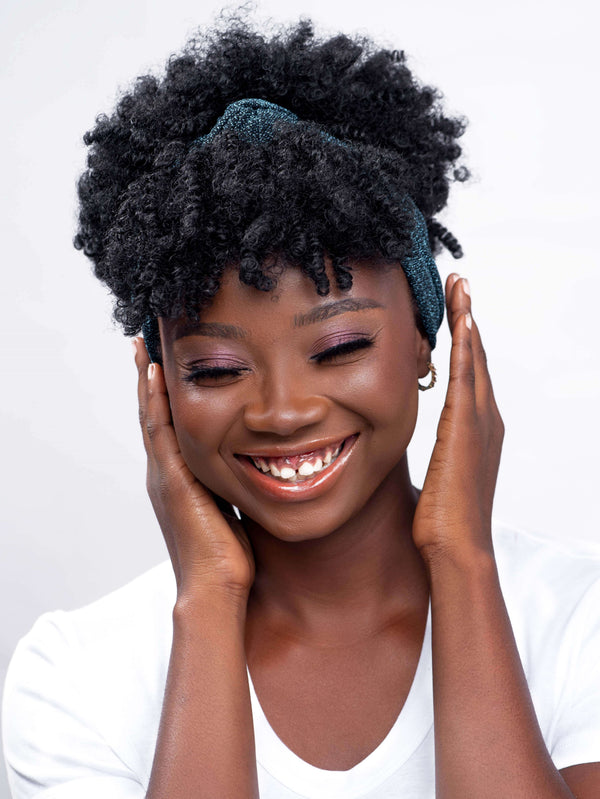
6 Low Manipulation Styles for Natural Hair
On days when you aren't feeling up to styling your hair or sitting for long hours at the salon for a new hairdo, it is easy to resort to wearing either wigs or low manipulation hairstyles like ponytails or twists.
They are also great alternatives to protective styles because they allow you to protect your hair without putting too much effort into the hairstyling process.
What are low manipulation styles?
Low manipulation hairstyles are styles that do not require a high amount of pulling, handling, and combing to be achieved. They are also easier to style, heat-free, and tension-free on your scalp.
Curious about these hairstyles? Here are 6 low manipulation styles you can try for your next hairstyle!
1. Flat Twists
All you need to achieve this simple, yet classy style is your styling gel, combs, and some hair cuffs to accessorize your look.

How to flat twist your natural hair
Watch this tutorial to see how Tyiece flat twists her hair.
What you need
- Wide-toothed comb for detangling
- Rat-tail comb for demarcation
- Moisturizer
- Oil
- Gel (optional)
Step 1: Section your hair

- Using a rat tail comb, make a sharp and straight parting.
Step 2: Create a part in the front section

- Because the front of your hair is longer than the rear, you don't want to take out too much hair from the back to risk running out of room. What you should do instead is cut more hair from the front than the back.
Step 3: Detangle the ends of the part

- Just before you start flat twisting your hair, you want to detangle the ends of the part in order to avoid running into knots while flat twisting.
Step 4: Flat twist your hair

- Divide the top strands at the roots into two and begin to twist. Ensure you twist in smaller sections at a time so it doesn't come out looking loose.
- Then repeat steps for other sections. The end result should look like this.

2. Half-up Space Buns
This is one of the coolest hairstyles you can rock with your natural hair. You can wear the Half-up Space Buns to anywhere, like the office, parties, or a quick errand run. Just name it!

How to achieve the Half-up Space Buns look
OnlyOneJess will show you to style this look in minutes.
What you need
- Water in a spray bottle
- Rat-tail comb for demarcation
- Hair clip
- Hair gel
- Hairbrush
- Hairband
- Hairpin
Step 1: Moisturize your hair
- Spritz water over your hair so it is easier to part and work with.

Step 2: Part your hair
- With your rat tail comb, part your hair into two sections, from your left ear to the right. Then, tie the back parting together with a hairband.

- Now, part the front section of your hair into two, roll the left part of the front section into a bun and clip away with a hairclip.

-
Take out a small part from the other section of hair and clip the rest with a hair clip. Then, from that small part you just made, divide it into two and roll the back part to the right bun.

Step 3: Make two braids
- Apply some gel to that part and braid it all down. The braid should look like the image below. Cut another equal section on the left and braid likewise.

Step 4: Moisturize and brush

- Next up is to unravel one of the buns and spray some water to moisturize. Then apply gel to the edges, brush, and tie with a hair band.
- After that, double the hairband to ensure it sticks longer and stays firm. Repeat this step for the other section of hair.
Step 5: Make a bun
- Wrap another hairband around both sections of hair to make a bun.

Step 6: Wrap the braid around the bun
- Wrap the braided hair on the left around the left bun. Wrap the braid around loosely so it's still visible then keep it in position with a hairpin. Repeat this step for the section on the right.

Step 7: Do a quick Wash n Go
- The back part of your hair would be left down. So, you need it full and defined with your beautiful curls. To achieve this, you need to do a quick wash and go. All you need is to spray the back section of your hair with water, then apply gel on your strands, so your curls can absorb them and become defined.

- Your curls should look like this after the wash n go

Step 8: Lay your edges

- After you apply gel to your edges, tie a scarf around it to get the edges laid.
- For your final look, you could splash some hair accessories to make your style pop.

3. Cornrows
Gone are the days where cornrows had to be boring. Now, you can spice it up with accessories, lay your edges, and add different shapes to the rows.

How to cornrow your hair
In this video by Dope Ethiopian, you'll learn a beginner friendly way to cornrow your own hair.
What you need
- Edge control.
- Styling oil or butter.
- Rat-tail comb.
- Elastic hair bands or small barrettes [for long hair]
Step 1: Wash and detangle your hair

- Before you cornrow your natural hair, you would want to shampoo and conditioner, so your hair looks fresh and clean for this style.
- Then the next step is to part the hair into small sections and detangle thoroughly.
Step 2: Make three small pieces at the roots

-
Now, this is where you begin to braid your hair. Grab one section, make a smaller part at your roots, and divide it into three bits.
Step 3: Make the cornrow pattern

-
While holding the 3 bits, start with the right bit and reach for the one on the left. With the left and right bit on the same finger, move the middle bit in between them. This is the pattern to follow until you braid in all of that section.
Step 4: Add hair as you braid

- As you follow this pattern, you need to add hair as you braid down. To do this, use your index and thumb to grab little pieces of hair.
- Also keep your fingers compact and close to your scalp so your cornrows come out firm and defined. Then repeat these steps for all the other sections.
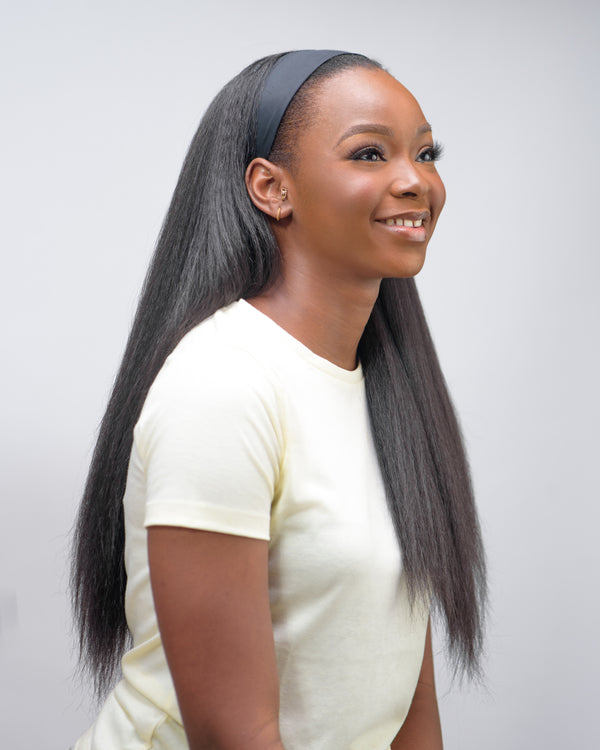
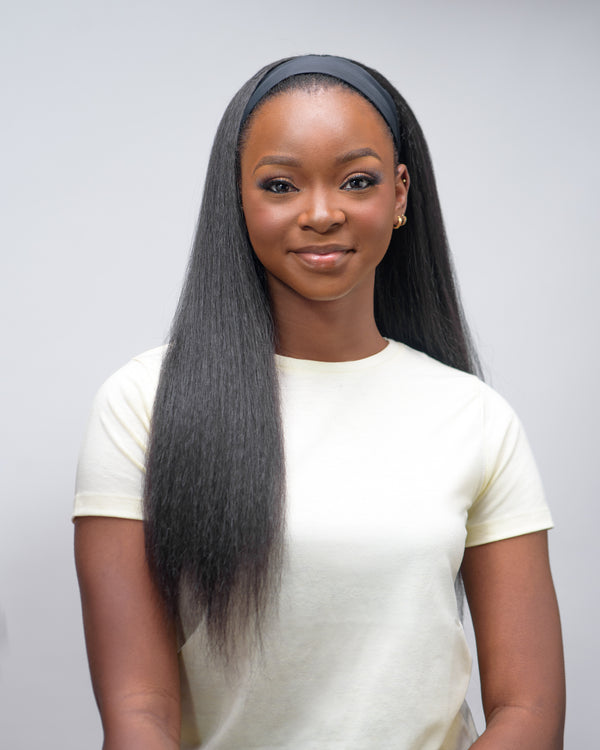
4. Ponytails
This style is a fav! You could rock it as full braids or make it into a ponytail. Whichever way you choose, you can rock them anywhere.

How to achieve the Ponytail look
In this video, Derbie Somers styles a ponytail look on her short 4C hair.
What you need
- Tail Comb
- Wide-tooth comb
- Natural ponytail extension
- Hair gel
- Hairbrush
- Leave-in conditioner
- Spray bottle of water
- Bobby pins
- Rubber bands
- Satin scarf
Step 1: Wash and comb your hair

- For this look, you want to start with freshly washed hair so it is clean and much easier to manipulate during styling.
- After you have shampooed and conditioned your hair, you can apply a leave-in conditioner to add extra moisture and make it easier to detangle your strands.
- Next, comb your hair thoroughly using a wide-tooth comb.
Step 2: Apply gel to your hair

- Apply gel to your hair in sections to achieve a sleek, smooth finish. Use a rat-tail comb to section your hair while applying the gel to ensure it is thoroughly applied. Also, use a brush to smoothen the effect of the gel after its application.
Step 3: Comb and gather your hair in a bun

- Next, comb the hair a second time, then spritz water over it to moisturize your hair.
- After this, gather up the hair into a high bun.
Step 4: Sleek the hair down

- Now, you should wrap a satin scarf around your hair to keep it sleek and in place.
Step 5: Attach your ponytail extension

- This is where you can unwrap the scarf to make way for the extension. Attach the extension to the bun and clip it into place with the comb. Then pull the drawstring to make your ponytail firm and secure.
- Then, roll the ropes of the drawstring around the cap of your ponytail, then tie its ends.
Step 6: Wrap up

- At this point, you would notice that the cap of your ponytail is still visible. To cover this up, take some strands of your ponytail and wrap it around the cap until it is hidden. Then use a hairpin to clip the ends to the back.
- After you have laid your edges, this is what the final look will look like.

5. Mini Twists
Are you looking for a low manipulative style that can last up to three weeks or a month? A mini twist would work perfectly for you. You can wear it for an extended time period and also style it in a variety of ways.

How to achieve the Mini Twist look
Achieve perfect mini twists with this detailed tutorial by Keke J. You'll also learn how to accessorize your twists with beads.
What you need
- Rat-tail comb
- Hair brush
- Scrunchies
- Hairfood [curl enhancer, curl gel]
- Threader
- Beads
- Rubber bands
- Spray bottle of water
Step 1: Section your hair

- Part your hair into two section then tie up the front section with your scrunchies.
Step 2: Twist your hair
- Before you start twisting, part out a thin section from the back, spray water on it, apply your curl gel to it, and detangle with your fingers and comb.
- To twist, divide the section into 2 pieces of hair, and wrap one piece over the other in a circular motion till you get to the end. Then repeat this process for all the sections of your hair.
- To make your twists looks neat, ensure that your part each section carefully and they aren't unequal too.
Step 3: Accessorize with beads

- After you're done twisting all the sections of your hair, you can add beads to it to accessorize this style.
- To do this, you should use a threader to loop the beads into your twists and then bind the ends with rubber bands to keep the beads from falling off.
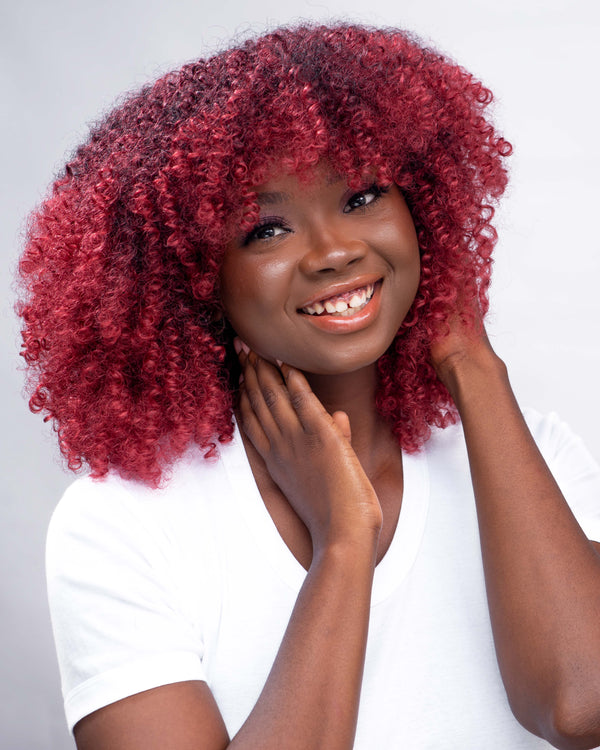
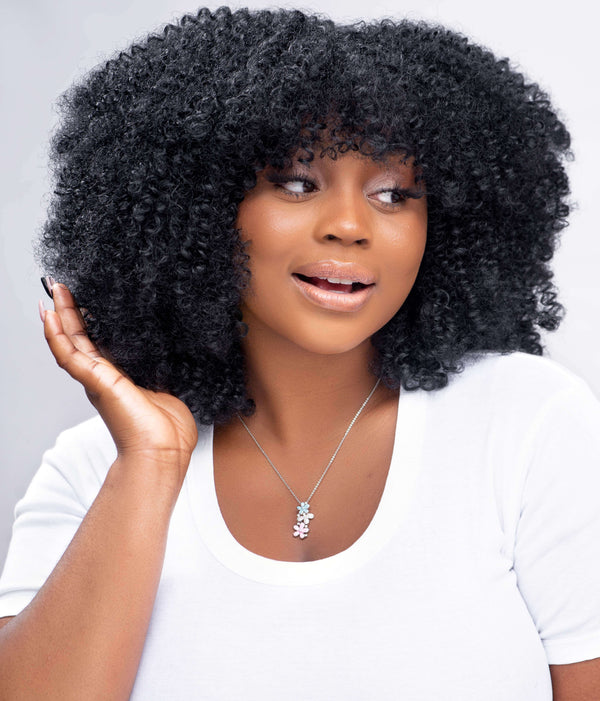
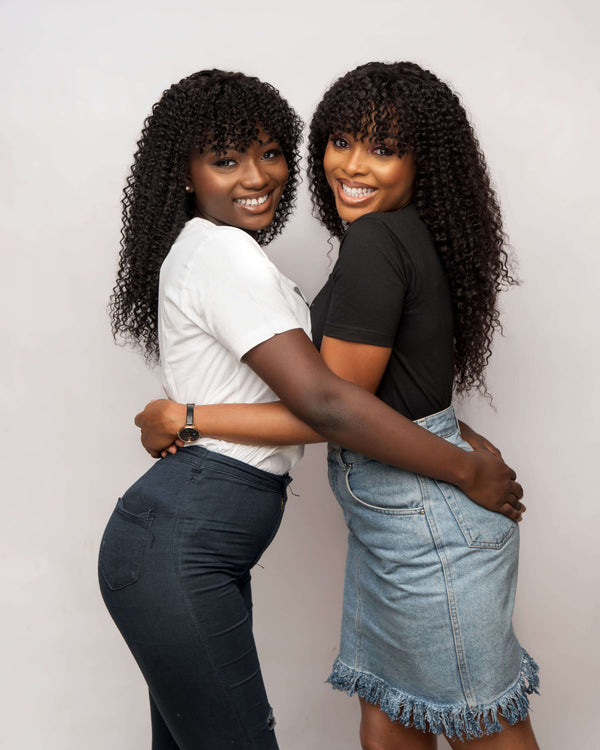
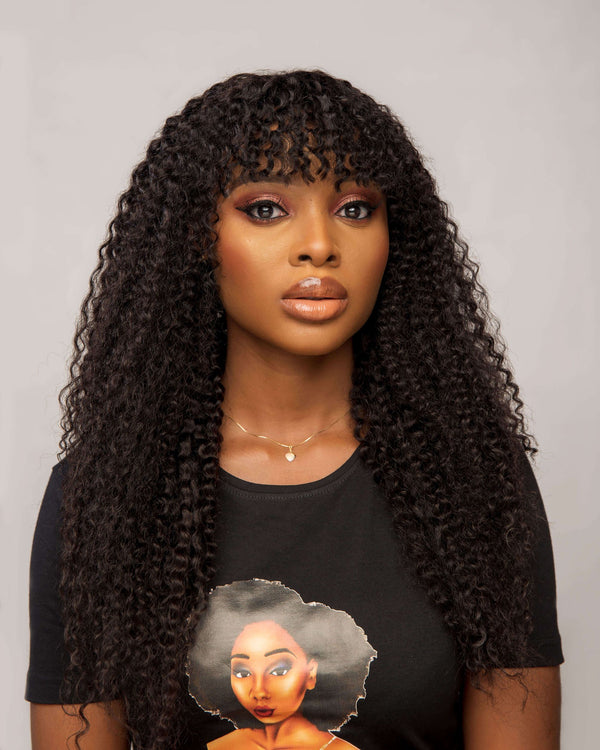
6. Wigs
If you don't want to commit to one hairstyle every day, wigs give you the option to change your looks as many times as you want without stress. With wigs, you get to protect your strands and minimize the strain on your hair. All you simply need to do is braid cornrows and have a collection of wigs you can choose from.
Here you go! 6 low manipulative hairstyles you can rock anywhere and everywhere!