Passion Twists Guide For Beginners: Step-by-Step Tutorial, and Hairstyles Ideas
If you're looking to step up your twists game, consider trying passion twists. This hairstyle is suitable for both summer and winter and will earn you a truckload of compliments everywhere you go.
In this article, I'll be sharing everything you need to know about passion twists, so keep reading!
What are Passion Twists?
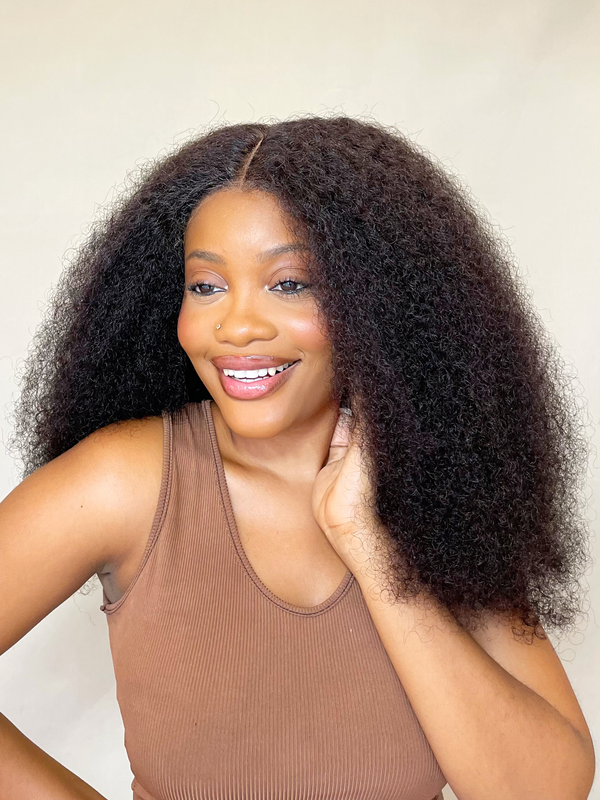
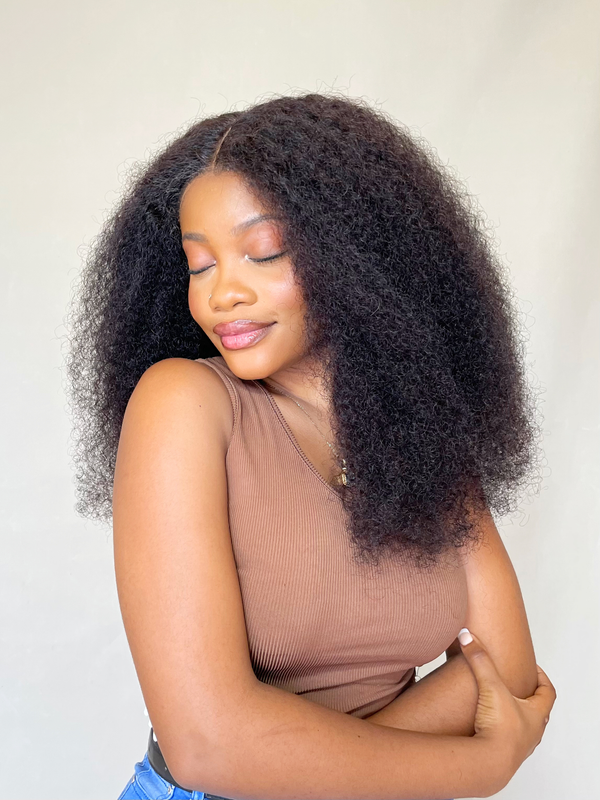
Passion twists are a type of two-strand twist done by using braiding hair extensions to give off a natural boho (unconventional and artsy) look. It is also called the boho look. Some people mistake them for faux locs, but they look more like a blend of Senegalese twists and Goddess locs.
Passion twists made their debut into the world of protective styling in 2018 when Miami-based hairstylist Kailyn Rogers, also known as The Boho Babe, posted a video of them on Instagram. They quickly gained popularity and have been searched over 900,000 times (#passiontwists) on Instagram. Since then, they have become one of the most sought-after protective styles for naturals and non-naturals alike.
Are Passion Twists Good for My Natural Hair?
Yes, absolutely! Passion twists are safe for your natural hair and can even promote hair growth since you do not have to manipulate your hair every other day. However, if you are experiencing hair damage, it is advisable that you wait until your hair is back to a healthy state before attempting this hairstyle.
How Long Do Passion Twists Last?
Passion twists can last between 8 to 10 weeks, depending on how well you maintain them. It is not recommended to leave them in for longer than this period, as they may start to fall out on their own, which can cause damage to your natural hair.
How Much Does it Cost to Make Passion Twists?
To be honest, passion twists can be expensive to make, with an estimated cost between $125 - $250. However, if you cannot afford to spend that much on a protective style, you can try making them yourself. Later in this article, I will provide a step-by-step tutorial on how to make passion twists at home.
Can I Swim with Passion Twists?
Yes, you can! Passion twits are water-friendly. After swimming, simply wash your scalp and the roots of your natural hair with conditioner afterward, then dry and moisturize.
Can I Wash My Passion Twists?
Yes, you can wash them. However, it is not advisable to wash them every other week, as this may cause the twists to wear out easily and your natural hair to become frizzy. It is recommended to wash your twists once or twice a month.
How Do I Remove My Passion Twists?
This depends on the installation method. If rubber bands were used, you may need another person's assistance to cut them out before unraveling the twists. Also, make sure your twists and fingers are moisturized with an oil-based product. This will help the twists unravel easily and slide off without damaging your natural hair.
How to Care for Passion Twists
1. Washing
To wash your passion twists, you will need shampoo and conditioner. While you can wash them the same way you wash your natural hair, doing so may cause them to look messy, old, and some twists may even unravel.
Instead, I advise you to dip a cotton ball in shampoo and use it to gently wipe your scalp. Then, dip another cotton ball in water and use it to cleanse your scalp. Repeat the cotton ball process when you want to condition your hair.
Does this method guarantee completely clean hair? No. You cannot completely clean your hair until you take your twists out. However, with this method, you can reduce the amount of dust, dirt, and product buildup that accumulates in your hair.
2. Moisturize
Moisturizing helps prevent dryness and itching that often accompany protective styles. If your scalp starts to itch, you can massage an anti-itch scalp oil to alleviate the discomfort.
When you have passion twists installed, it is best to limit your moisturizing to lightweight hair oils and apply them two to three times a week. This way, you can prevent product buildup on your scalp.
3. Use a Silk Scarf or Satin Bonnet
Before going to sleep, wrap your hair in a silk scarf or wear a satin bonnet. This will prevent your twists from losing moisture and shape as you toss and turn throughout the night.
4. Retouch
If the roots of your natural hair start to come out of place, you can touch them up by applying hair gel, wax, or curling butter to make them appear neat again.
5. Minimize Styling
Manipulating your passion twists into different hairstyles, such as buns, updos, ponytails, and pigtails, every other week can cause them to wear out quickly and may also result in breakage of your natural hair. So, limit your styling to twice a week.
6 Passion Twist Hairstyles Ideas for Natural Hair
Here are six fun and exciting hairstyles to try out with your passion twists:
1. Long Passion Twists

2. Mid-length Passion Twists

3. Short Passion Twists

4. Colored Passion Twists

5. Side Swept Passion Twists

6. Buns Passion Twists

How to Do Passion Twists on Natural Hair: A Step-by-Step Tutorial
What you need:
- Braiding hair extensions
- Extra hold
- Edge control
- Hairbrush
- Olive oil or any other hair oil of your choice
- Rattail comb
- One pack of rubber bands
Step 1: Prepare your hair extensions

Step 2: Apply olive oil

Apply a moderate amount of olive oil to your clean natural hair and massage it in. Next, put your natural hair into a loose bun to make it easier to work with.
Step 3: Section your natural hair

Step 4: Apply your extra hold


Step 5: Install your passion twists


Step 6: Lay your edges


Well done! Your passion twists turned out beautifully.
If you want to do your own passion twists at home, check out this detailed tutorial video by TheChicNatural: