How to Create Smooth Finger Coils on Natural Hair
Finger coils are curls made by twisting the hair around the fingers. They usually last for about a week or more and can work on any hair length. Finger coils when done properly can give the look of locs. So if you are unsure about getting locs for your hair, this is a quick fix for you.

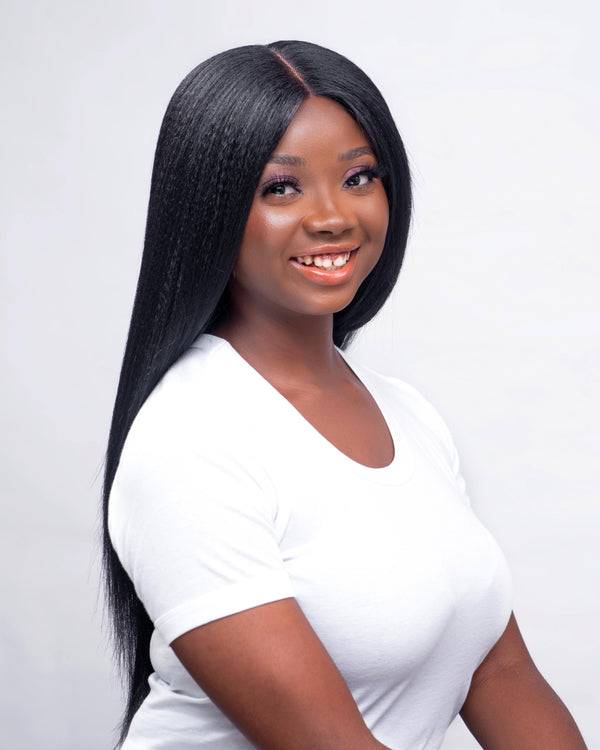
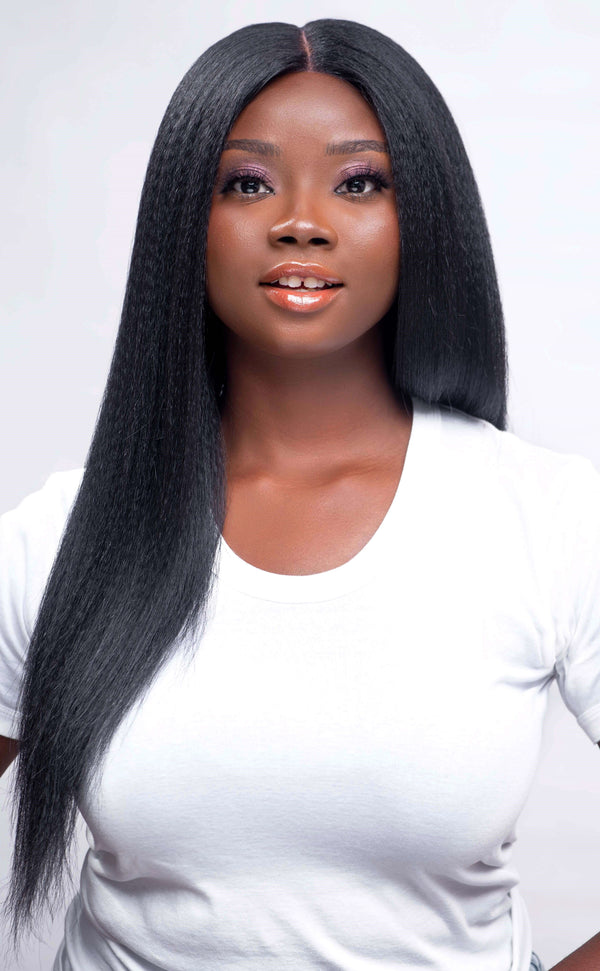
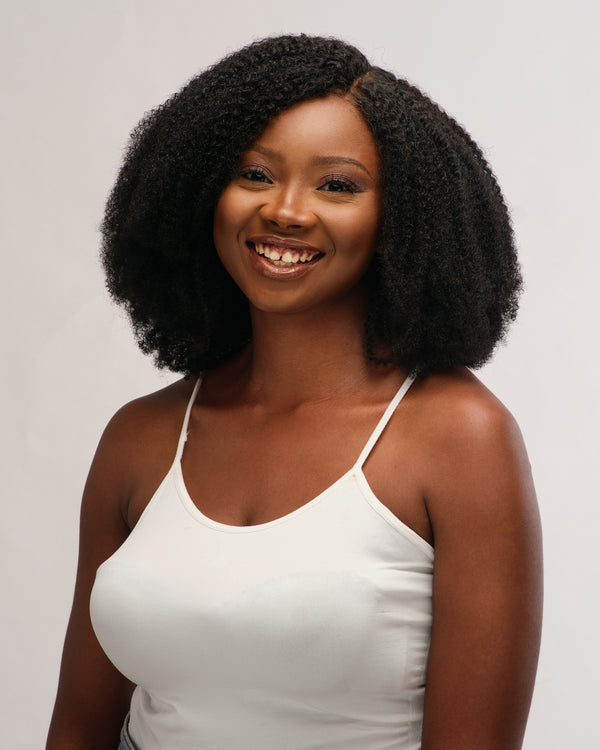
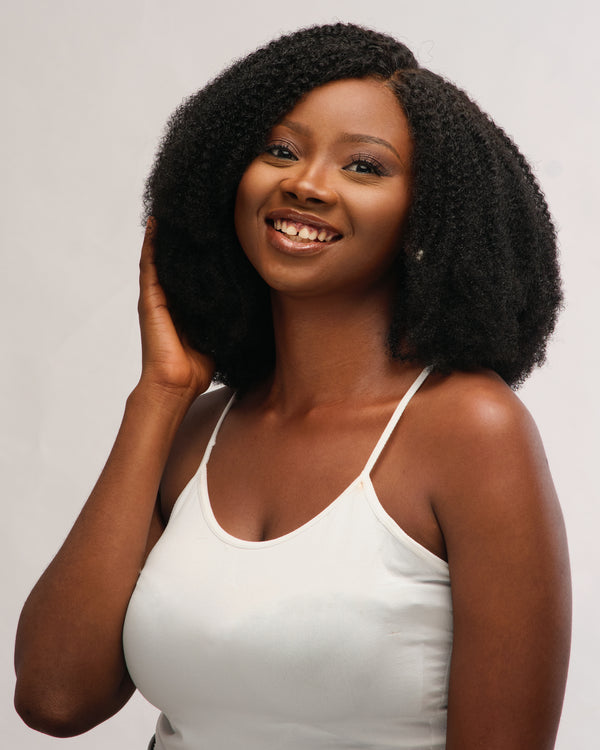
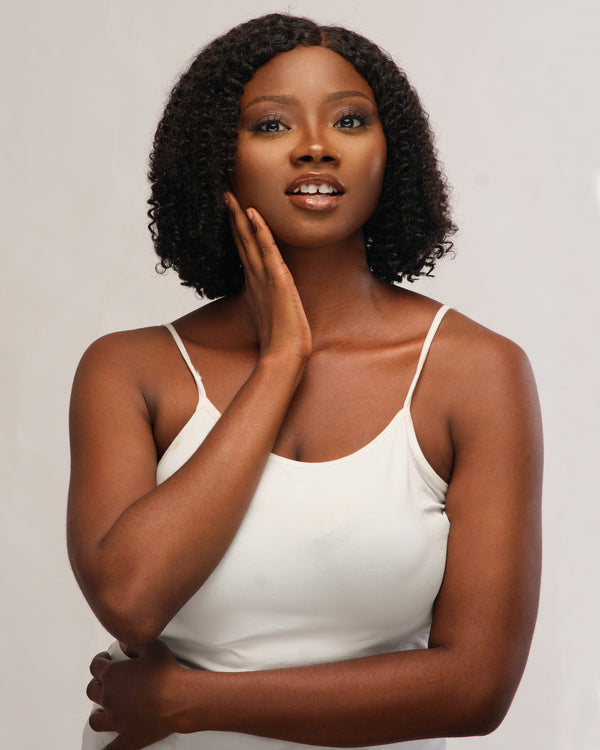
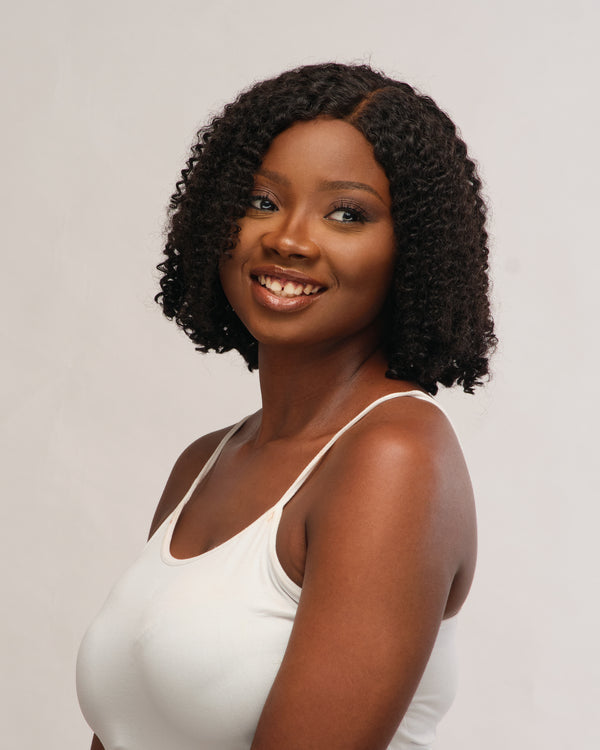
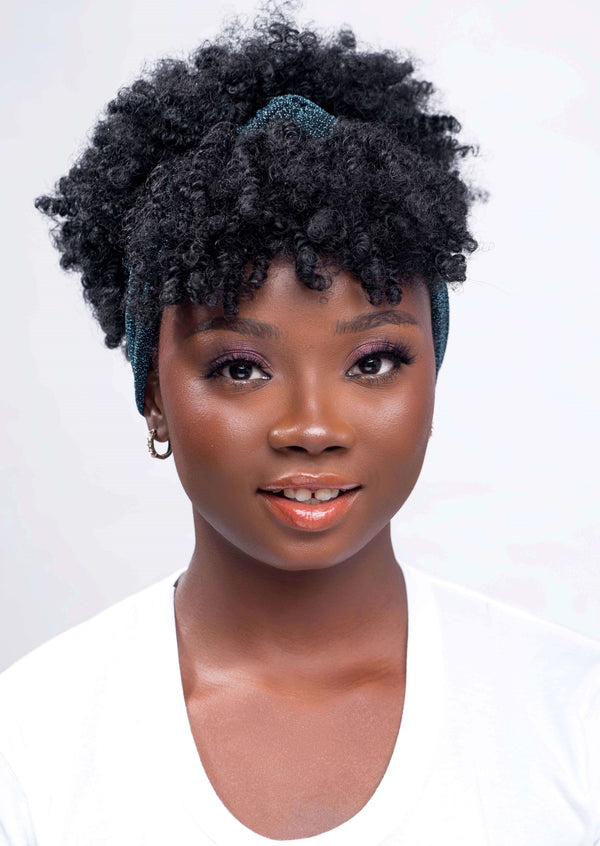
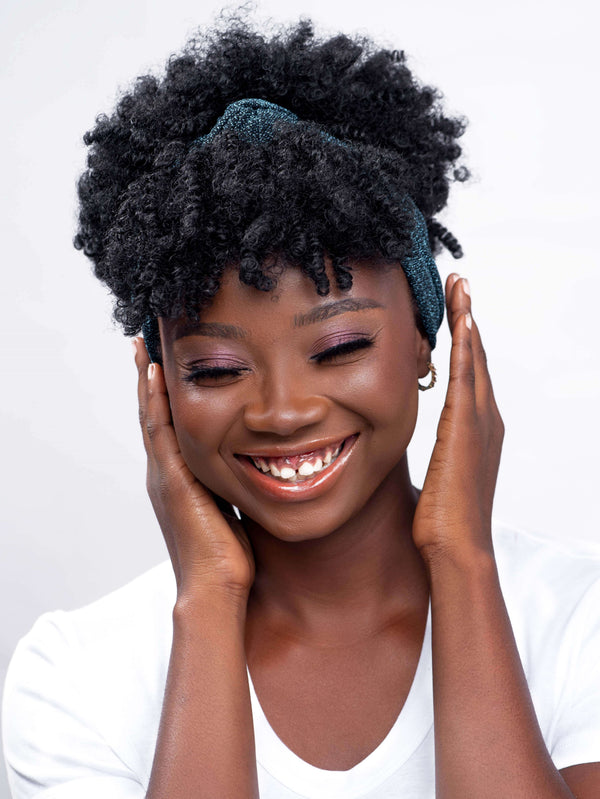
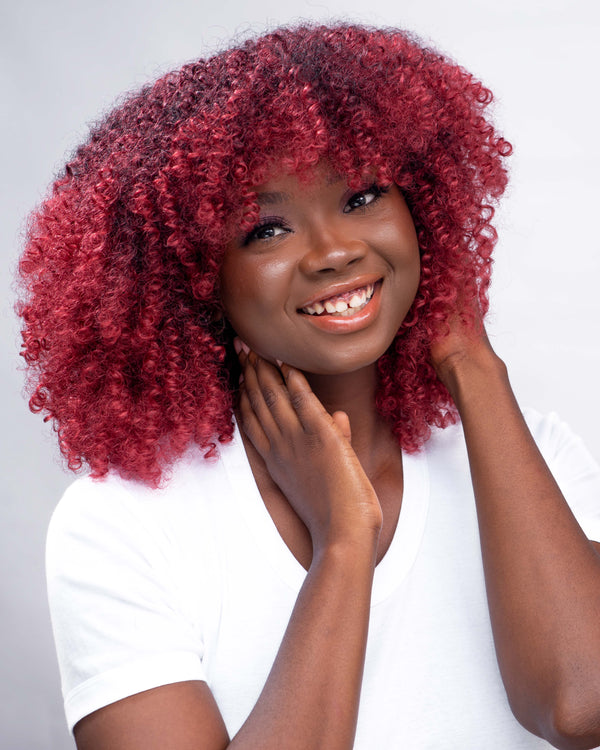
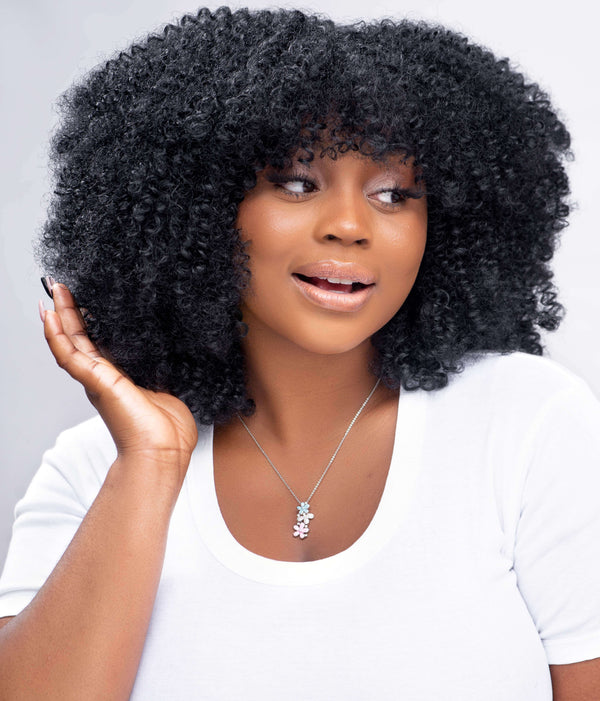
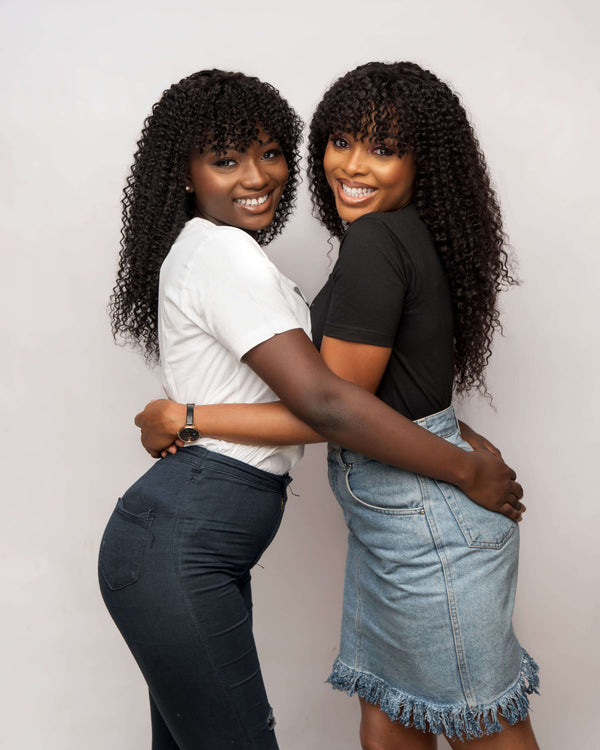
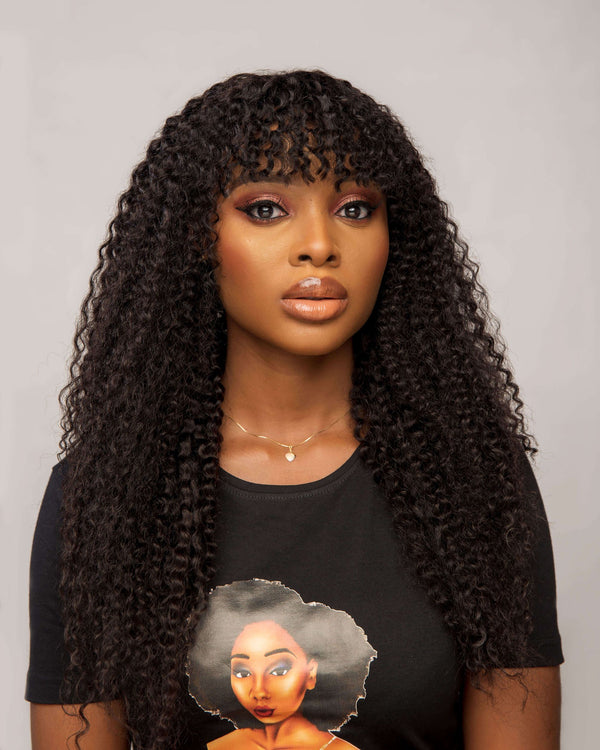
But if all that talk about locs is making you locs-hungry and you want actual locs without the commitment yet, you can always recreate the locs hairstyle with the Bohemian Locs wig.
And if not, here's how to create the smoothest finger coils on natural hair.
How to do Finger Coils
To create the best finger coils on natural hair, this tutorial by the Chic Natural will guide you through the steps.
What you need
- Rattail comb
- Styling gel
- Olive oil
- Hair pin
- Elastic bands
- Edge control
Step 1: Part your hair

- Start with freshly washed and conditioned hair.
- Gather up your hair into a high puff and start parting from the back.
- Using a rattail comb, make a part going across from the back of your head. Ensure your part is as straight as possible.
- Then section off that part to get square pieces of hair.
Step 2: Moisturize the first section

- Apply olive oil or any oil of choice to the section you took out.
- Apply gel to that section, starting from the roots to the ends. Also, you want to add enough gel so your hair feels super slippery all the way down.
Step 3: Make your finger coils

- Now, take all the hair from that section and twirl around your fingers to wind it together and create a single coil.
- Once the length of the hair is coiled, tighten up the roots so they don't become puffy.
Step 4: Tighten up the roots

- To tighten up the roots of your finger coils, wind the base of your hair with one hand and also wind the bottom with the other hand. This would remove the slack at the roots.
- When you are done clip it in place with a hair pin.
Step 5: Finger coil the other sections

- Repeat the same steps for the rest of your hair.
- Make square sections, apply oil and gel. Twirl each section around your fingers, tighten up the roots and clip it into place.
- When you make your square sections, don't lay them on top each other. As you go up your hair, make them unequal parts.
- Keep your spray bottle of water handy for when your hair dries up. For this style, it is important to keep your hair wet as the moisture helps your coils form better and your hair to clump together.
Step 6: Keep your coils stretched

- Once you are done with making your finger coils, split them into two and tie them into a front and back ponytail.
- Use elastic bands and band the length of each ponytail all the way down. Natural hair tends to shrink up easily and this technique will keep your coils as stretched as possible.
- Tie a scarf over your edges and let your coils air dry overnight.
Step 7: Take down the elastic bands

- The next day, take out the elastic bands and hair pins from your hair.
Step 8: Add some shine

- Spritz a shine spray over your hair to get some sheen.
- Lay your edges with your edge control of choice.
- Style as desired.
Extra tip: To keep your finger coils smooth overnight, apply any carrier oil like jojoba oil to your hair and scalp and cover up with a satin bonnet. Using a carrier oil helps to moisturize and add shine to your hair.